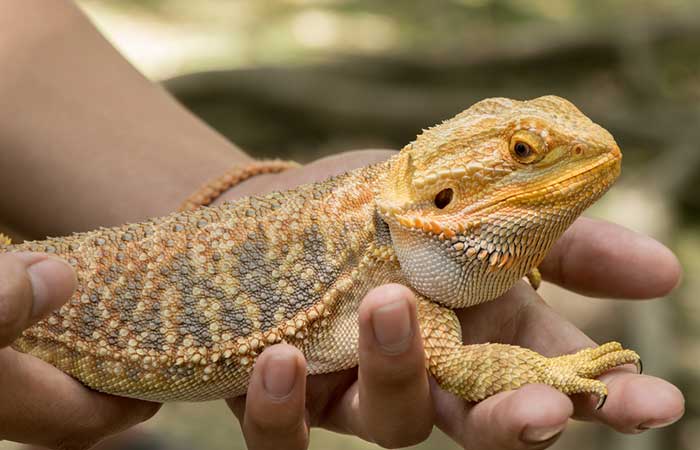
When I brought home my first bearded dragon, Max, I spent weeks researching proper habitat setup. Despite all that preparation, I still made plenty of rookie mistakes. Now, after 15 years of keeping these fascinating reptiles and helping countless other owners, I’ve learned that creating the perfect bearded dragon habitat is both an art and a science. In this comprehensive guide, I’ll share everything I’ve learned about creating not just a suitable enclosure, but a thriving environment where your beardie can flourish.
Whether you’re setting up your first habitat or looking to upgrade your current setup, this guide will walk you through everything you need to know. We’ll cover the essential basics, dive into advanced techniques, and explore some lesser-known tips that can make a real difference in your dragon’s quality of life. Let’s start from the ground up, quite literally, with your dragon’s new home.
Choosing Your Dragon’s Castle: The Perfect Enclosure
I remember being overwhelmed by the sheer variety of terrariums available when setting up my first bearded dragon habitat. Here’s what I’ve learned: while there are many options out there, your choice of enclosure will set the foundation for everything else. Let me break down what really matters when selecting your beardie’s home.
Size Requirements: Bigger is Usually Better
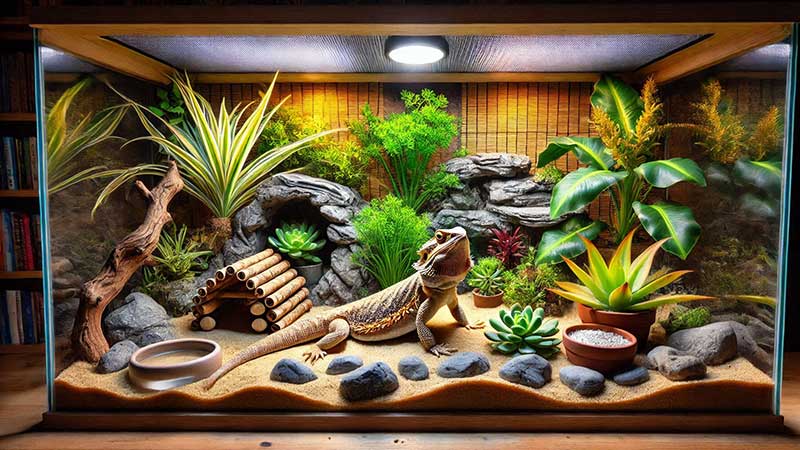
One of the most common mistakes I see new owners make is choosing an enclosure that their beardie will quickly outgrow. Adult bearded dragons need significant space to thermoregulate, exercise, and exhibit natural behaviors. The absolute minimum size for an adult bearded dragon is 4x2x2 feet (120 gallons), though I’ve found that dragons kept in larger enclosures tend to be more active and show more natural behaviors. My personal recommendation is to go with a 5x2x2 feet enclosure if you have the space – I’ve never met anyone who regretted giving their dragon extra room.
Construction Materials: What Really Works
Through trial and error (and one particularly disastrous experience with a wooden vivarium that couldn’t handle the humidity), I’ve found that glass terrariums with excellent ventilation are your best bet. While there are fancy PVC and hybrid enclosures available, a well-built glass terrarium provides optimal visibility, maintains heat effectively, and stands up to the rigors of daily use. Look for these specific features that I’ve found make a significant difference in daily maintenance and dragon happiness:
- Front-opening doors (trust me, your back will thank you)
- Sturdy screen top for proper ventilation and UVB penetration
- Sealed corners to prevent escape and maintain proper temperatures
- Raised bottom for installing a substrate barrier
- Sliding door locks (beardies are surprisingly good escape artists)
Creating the Perfect Temperature Gradient: More Than Just Hot and Cold
Here’s where things get interesting – and where many setup guides oversimplify. Bearded dragons don’t just need hot and cold spots; they need a complex temperature gradient that mimics their natural habitat. I’ve spent countless hours adjusting and perfecting temperature gradients, and I’ve found that creating multiple microenvironments within the enclosure leads to healthier, more active dragons.
The Three Essential Temperature Zones
Through careful observation of my dragons’ behaviors, I’ve found that they utilize different temperature zones throughout the day for various activities. Your enclosure should have these distinct temperature zones:
1. The Basking Zone (95-105°F)
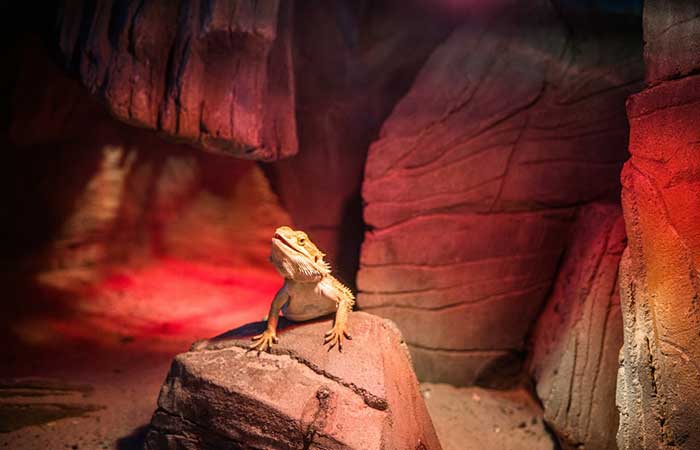
This is your dragon’s primary basking area, where they’ll spend their mornings warming up and processing their food. I’ve found that creating multiple basking spots at different heights allows your dragon to fine-tune their temperature regulation. Use a combination of slate or sandstone rocks with varying heights, ensuring each spot has these specific temperature ranges:
- Primary basking spot: 100-105°F
- Secondary basking areas: 95-100°F
- Surrounding air temperature: 90-95°F
2. The Activity Zone (85-95°F)
This middle ground is where your dragon will spend most of their active time. It should cover about 40% of the enclosure and provide enough space for normal activities like walking, digging, and exploring. I’ve found that dragons use this zone most actively during their peak activity hours, usually mid-morning and late afternoon.
3. The Cooling Zone (75-85°F)
Every dragon needs a retreat from the heat. This area should take up about 30% of the enclosure and provide comfortable spots for your dragon to cool down. Include multiple hides and shaded areas in this zone – I’ve observed that dragons often use this area during the hottest part of the day or when they need a break from basking.
Lighting: The Most Critical Element You Can’t See
After years of experimentation and consulting with reptile veterinarians, I’ve learned that proper lighting is absolutely crucial for bearded dragon health – and it’s more complex than most guides suggest. Let’s break down the essential components of a proper lighting setup that will keep your dragon healthy and thriving.
UVB Lighting: Your Dragon’s Personal Sun
The single most important investment you’ll make in your dragon’s habitat is proper UVB lighting. Through keeping multiple dragons over the years, I’ve found that the quality and setup of UVB lighting directly impacts their behavior, appetite, and overall health. Here’s what you need to know about setting up optimal UVB lighting:
- Choose a high-output T5 HO UVB bulb that spans 2/3 of your enclosure length
- Position the UVB bulb overlapping with the basking area
- Mount the UVB fixture at the proper height (10-12 inches from the basking spot)
- Replace UVB bulbs every 6 months, even if they still appear to be working
- Use a reflector to maximize UVB output and create a more focused beam
Substrate Choices: The Great Debate Settled
The substrate debate in the bearded dragon community can get heated – I’ve seen friendships end over loose versus solid substrate arguments! After years of testing different options and monitoring health outcomes, I can confidently say that the best substrate choice depends on your specific situation and experience level. Let me share what I’ve learned through both successes and failures.
Safe Substrate Options: What Really Works
When I first started keeping bearded dragons, I made the common mistake of using calcium sand, thinking it was safer than regular sand. After a scary impaction incident with my first beardie, I learned the hard way that many marketed “reptile safe” substrates aren’t actually optimal for our scaled friends. Here’s my tried-and-tested breakdown of substrate options, ranked from safest to most advanced:
Creating Environmental Enrichment: Beyond Basic Decorations
One of my biggest revelations in dragon keeping came when I started thinking beyond simple decorations and began creating engaging environments that encourage natural behaviors. Your dragon’s habitat should be more than just a place to exist – it should be an interactive space that keeps them physically and mentally stimulated.
Essential Habitat Features
Through observing my dragons’ behavior patterns, I’ve identified key features that every habitat should include. These aren’t just decorative elements – they’re crucial for your dragon’s physical and psychological well-being:
1. Climbing Structures
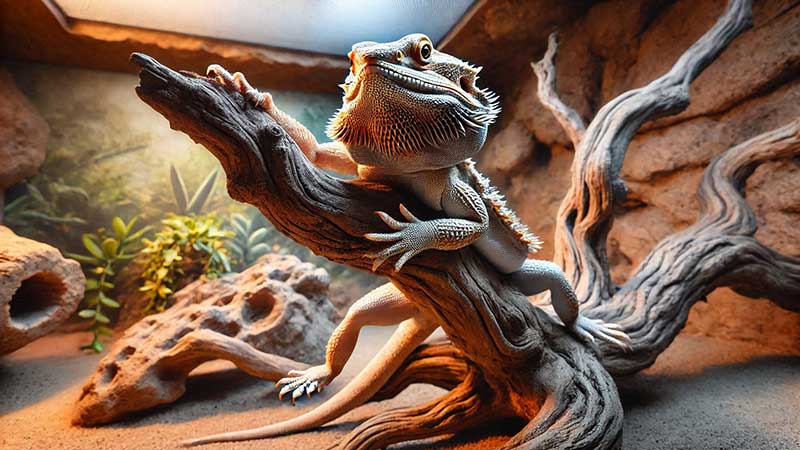
Bearded dragons are surprisingly good climbers, and I’ve found they use vertical space more than many owners realize. In my habitats, I include:
- Sturdy branches at various angles (cork bark is excellent)
- Rock stacks with multiple levels
- Hammocks at different heights
- Climbing walls (rough texture for grip)
- Platforms with varying heights and surfaces
2. Hide Spots and Security
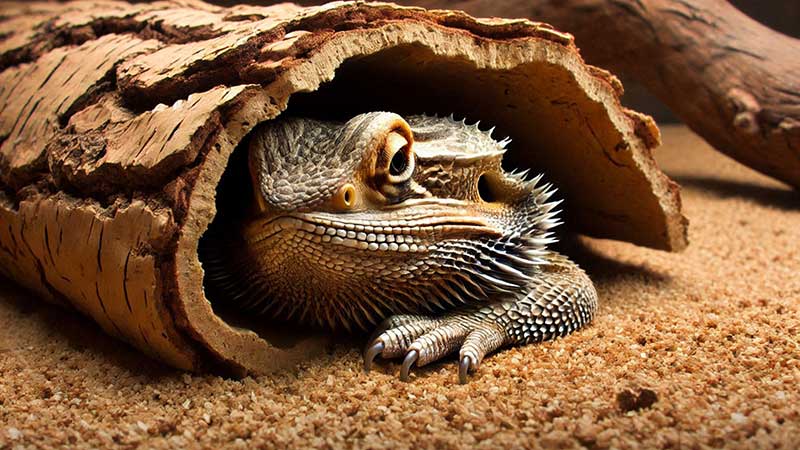
Even the most outgoing dragons need private spaces. I provide multiple types of hides throughout different temperature zones:
- Cool side hide (cave-style for sleeping)
- Warm side hide (for thermal regulation)
- Humid hide (helps with shedding)
- Elevated hide (many dragons prefer sleeping off the ground)
The Often Overlooked Humidity Factor
Here’s something many guides don’t emphasize enough: proper humidity management is crucial for bearded dragon health. Coming from the Australian outback, these reptiles are adapted to specific humidity levels, and maintaining the right balance can prevent numerous health issues I’ve encountered over the years.
Creating Microclimate Zones
Through experimentation, I’ve found that creating multiple humidity zones within the enclosure is more beneficial than maintaining a single humidity level throughout. Here’s how I structure humidity in my dragons’ habitats:
Primary Living Space (30-40% Humidity)
- Use proper ventilation to maintain lower humidity
- Monitor with digital hygrometers in different zones
- Adjust based on seasonal changes
Humid Hide (50-60% Humidity)
- Provide a specific area with slightly higher humidity
- Essential for healthy shedding
- Change moisture-retaining substrate regularly
Feeding Station Setup: A Critical Component
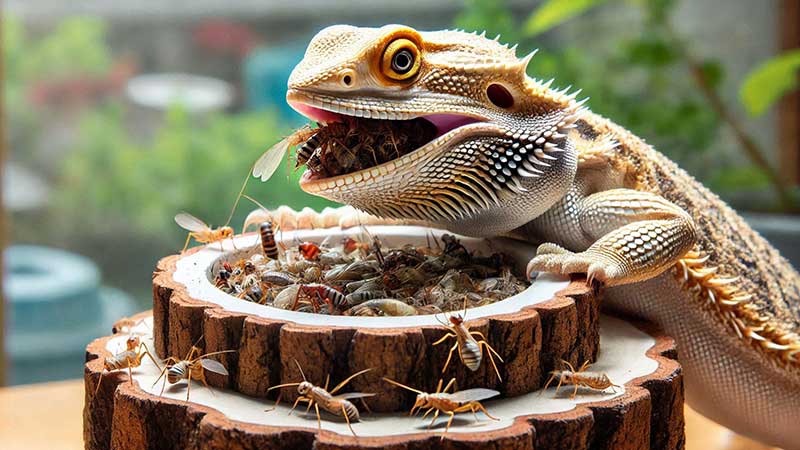
After years of trial and error, I’ve developed a feeding station setup that maximizes nutrition while minimizing waste and potential health issues. Your dragon’s feeding area needs to be more than just a couple of dishes thrown into the enclosure – it should be a well-thought-out station that promotes healthy eating habits.
Essential Feeding Station Components
My optimal feeding station setup includes:
- Elevated feeding platform (prevents substrate ingestion)
- Shallow, wide ceramic food dish for vegetables
- Separate insect feeding area with barriers to prevent escape
- Fresh water bowl (changed daily)
- Calcium/supplement dusting station
Strategic Placement
Location matters more than you might think. I position feeding stations:
- Away from the primary basking spot to encourage movement
- In a visible area for monitoring food intake
- On easy-to-clean surfaces
- In a zone maintaining 85-90°F for proper digestion
Environmental Control Systems: The Tech Behind Perfect Habitats
When I first started keeping bearded dragons, I thought a simple lamp timer was enough for environmental control. Several near-disasters and many upgrades later, I’ve learned that proper environmental control systems are worth every penny. They’re not just convenient – they’re essential for your dragon’s health and your peace of mind.
Temperature Control: Beyond Basic Thermostats
After losing an expensive ceramic heat lamp to a power surge and dealing with a dangerous temperature spike, I developed a comprehensive temperature control system that provides both safety and precision. Here’s my current setup that’s proven reliable through years of use:
- Primary Thermostat: Proportional thermostat for basking lights
- Secondary Thermostat: On/off thermostat for ceramic heat emitter
- Emergency Shutdown: Temperature fuse for safety cutoff
- Backup Power: Battery backup for essential equipment
Monitoring Systems: Your Early Warning Network
I learned the hard way that catching problems early can prevent serious health issues. My monitoring setup has evolved to include:
- Digital thermometers in each temperature zone
- Humidity monitors in both warm and cool ends
- UVB meter for regular light output testing
- Smart plugs for remote monitoring
Seasonal Adjustments: Mimicking Natural Cycles
One of the most significant improvements I’ve made to my dragons’ care was implementing seasonal changes in their habitat. In nature, bearded dragons experience distinct seasonal variations, and replicating these cycles can improve breeding success, overall health, and natural behaviors.
Spring/Summer Settings
During warmer months, I adjust the habitat to reflect natural summer conditions. This includes:
- Extended daylight hours (14 hours light/10 hours dark)
- Higher basking temperatures (100-105°F)
- More frequent misting for hydration
- Increased food availability
- Additional climbing opportunities
Fall/Winter Adjustments
As seasons change, I gradually modify their environment to trigger natural brumation responses:
- Reduced daylight hours (10 hours light/14 hours dark)
- Slightly lower basking temperatures (95-100°F)
- Decreased ambient humidity
- Modified feeding schedule
- Additional hiding spots
Health Monitoring Through Habitat Design
After dealing with a respiratory infection that could have been caught earlier, I’ve learned to design habitats that make health monitoring easier. Your setup should help you spot potential issues before they become serious problems.
Key Monitoring Areas
I’ve created specific zones in my habitats that help me monitor health indicators:
Activity Monitoring Zone
- Clear basking area for behavior observation
- Climbing structures to assess mobility
- Open areas for gait evaluation
- Multiple levels to test strength and coordination
Feeding Station Design
- White feeding dishes to monitor eating habits
- Clear water bowl to check hydration
- Measured portions area for intake tracking
- Easy-to-clean surfaces for hygiene monitoring
Emergency Preparedness: When Things Go Wrong
After experiencing a power outage during a summer heatwave, I developed a comprehensive emergency plan. Every habitat should have backup systems and emergency supplies ready.
Essential Emergency Kit
Keep these items readily available near your dragon’s habitat:
- Battery-powered heat packs
- Emergency lighting system
- Portable thermometer
- First aid supplies
- Transport container
- Emergency contact information
Backup Systems
I recommend having these backup systems in place:
- Secondary heating option
- Backup UVB bulb
- Battery backup for essential equipment
- Spare thermostats
Advanced Enrichment: Keeping Your Dragon Engaged
Through years of observation, I’ve learned that bearded dragons are far more intelligent and curious than most people realize. Creating an enriching environment isn’t just about their physical health – it’s about keeping them mentally stimulated and engaged.
Natural Enrichment Features
I’ve incorporated these elements into my habitats with great success:
- Varying texture zones for sensory stimulation
- Removable climbing structures that can be rearranged
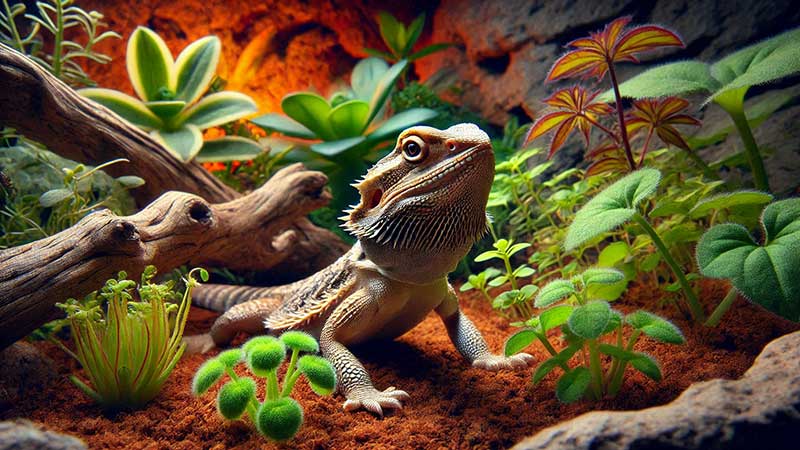
- Safe plants (both live and artificial)
- Different levels and platforms
- Interactive feeding areas
Behavioral Enrichment Activities
Regular habitat modifications can help prevent boredom:
- Weekly décor rotation schedule
- Different textures for climbing and basking
- Varied feeding locations
- Natural light exposure (through UVB-safe mesh)
- Supervised exploration time
Maintenance and Long-Term Care
A successful habitat isn’t just about the initial setup – it’s about consistent maintenance and updates. After years of keeping dragons, I’ve developed a maintenance schedule that keeps their environment pristine without becoming overwhelming.
Daily Tasks
- Spot clean substrate
- Fresh water provision
- Temperature checks
- Behavior monitoring
- Equipment inspection
Weekly Tasks
- Deep clean feeding areas
- Disinfect surfaces
- Check UVB output
- Rotate enrichment items
- Thorough substrate cleaning
Troubleshooting Common Habitat Issues
Even with the perfect setup, you’ll likely encounter some challenges along the way. After helping hundreds of beardie owners through various issues, I’ve compiled this troubleshooting guide based on real experiences and successful solutions.
Temperature Management Problems
Temperature issues are the most common problems I’ve encountered in bearded dragon habitats. Here’s how to address the most frequent challenges:
- Insufficient Basking Temperature
- Check bulb wattage and distance from basking spot
- Ensure proper reflection and heat concentration
- Consider adding a secondary heat source
- Verify thermometer accuracy with multiple devices
- Uneven Temperature Distribution
- Adjust furniture layout to improve air flow
- Add or remove barriers between zones
- Reposition heat sources for better coverage
- Consider adding small fans for air circulation
Humidity Balance Issues
After the great humidity crisis of 2019 (when my entire dragon room became a sauna), I learned these crucial fixes:
- High Humidity Solutions
- Increase ventilation with additional air holes
- Move water dish to cool side
- Use a dehumidifier in the room
- Switch to moisture-wicking substrate
- Low Humidity Solutions
- Create a humid hide with moss
- Mist cool side lightly in morning
- Add shallow water features
- Install a small humidifier nearby
Advanced Habitat Modifications
After your initial setup is running smoothly, you might want to consider these advanced modifications that I’ve found particularly beneficial:
Bioactive Considerations
While controversial in the bearded dragon community, I’ve had success with modified bioactive setups. Here’s what I’ve learned:
- Benefits
- More natural environment
- Better humidity control
- Reduced maintenance long-term
- Additional enrichment opportunities
- Challenges to Consider
- Higher initial setup cost
- More complex temperature management
- Regular plant maintenance
- Careful cleanup crew selection
Smart Habitat Integration
Technology can significantly improve habitat management. My current favorite upgrades include:
- Smart Controllers
- Programmable temperature adjustments
- Automated lighting schedules
- Remote monitoring capabilities
- Data logging for health tracking
- Automated Systems
- Misting systems for humidity control
- Timed UVB exposure management
- Temperature emergency alerts
- Feeding schedule reminders
Final Essential Checklists
Daily Habitat Maintenance
Keep this checklist handy for daily maintenance:
- Morning Routine
- Check all temperatures
- Verify lighting functionality
- Clean water dish and refill
- Spot clean substrate
- Monitor dragon’s behavior
- Evening Routine
- Remove uneaten food
- Final temperature check
- Verify night temperature settings
- Check water availability
- Record any unusual observations
Monthly Maintenance Schedule
Set reminders for these monthly tasks:
- Deep cleaning of entire habitat
- UVB output testing
- Check all electrical connections
- Inspect screen top integrity
- Evaluate décor for wear and tear
- Review temperature gradient accuracy
- Update health and maintenance logs
Conclusion: Creating a Living Legacy
Creating the perfect bearded dragon habitat is an ongoing journey, not a destination. Through years of experience, countless adjustments, and learning from both successes and failures, I’ve found that the most successful habitats are those that evolve with our understanding and our dragons’ needs. Remember, every dragon is unique, and while these guidelines provide a solid foundation, the best habitat will be one that you continually adjust based on your dragon’s individual preferences and behaviors.
Keep observing, keep learning, and most importantly, keep adapting your setup to provide the best possible home for your scaly friend. The time and effort you invest in creating and maintaining the perfect habitat will be rewarded with a healthy, active, and engaging pet that can bring joy for many years to come.
Parting Wisdom
- Never stop learning and observing
- Make gradual rather than dramatic changes
- Keep detailed records of what works
- Join a community of experienced keepers
- Trust your instincts about your dragon’s needs
